Posts
Posts are used to create content like blog articles or news updates. You can place them in archive blocks, which can be added to pages for easy display. Posts can be organized by types and categories, allowing for flexible sorting and navigation. Each post can be customized to fit your specific design and content needs.
Posts: Make a new post
Creating a post is quite similar to creating a page. The main difference is that a post can be included within a page, making it useful for blogs or articles. To create a new post, go to Posts in the main menu and click on the Create new post button.
You can also edit an existing post by clicking on the post in the overview.
Posts: How to create a post
- Go to the General tab to create a post and give the post a Title.
- Select a Post Type. Post types help you organize and structure your content. When you create a new post, selecting a post type ensures it follows the right layout and includes the appropriate fields.
You can choose from existing post types, such as Blogs or Projects. Each post type is tailored to a specific kind of content.
Need something custom? You can also create your own post types to match your content needs.
For more details on how to create and manage custom post types, see the Post Type section of this manual. - If applicable, select the appropriate Tenant on the right side to link the post to the correct environment.
- You can assign Categories to your posts. These categories will be displayed alongside your post and can be seen on the post card in an archive block. For more information on how categories work, check the Categories section of this manual.
- You have the option to set a publication date using Published At, allowing you to schedule when the post will go live. Next, choose an author for the post; the author’s name will be displayed within the post.
- Finally, enter the slug for the post. A slug is the part of the URL that identifies a specific page on the website. For example, if your website is website.com and you create a post with the slug "contact," the URL will be: website.com/contact.
Save and publish
Similar with a page, save the new post by clicking Save Draft at the top right. To publish your changes immediately, click Publish Changes. Options such as creating a new post, duplicating, or deleting the post can be found under the three-dot button at the top right next to Publish Changes.
Posts: Hero, Body, Submenu and Language
The hero, body, submenu, SEO options for a post are the same as those for a page. You can find more information about these options in the page section of the manual.
Posts: Post Types
Post types help you organize your posts, making content management simpler and more structured.
To create a new Post Type, go to Post Types in the main menu on your left and click on the Create New button next to the title "Post Types." Grouping posts under a specific post type allows for better organization. All you need to do is give the post type a title (1) and, if applicable, assign it to the appropriate tenant (2). You can find the tenant selection on the right side of the screen. Save the post type by clicking the save (3)button at the top right.

Posts: Categories
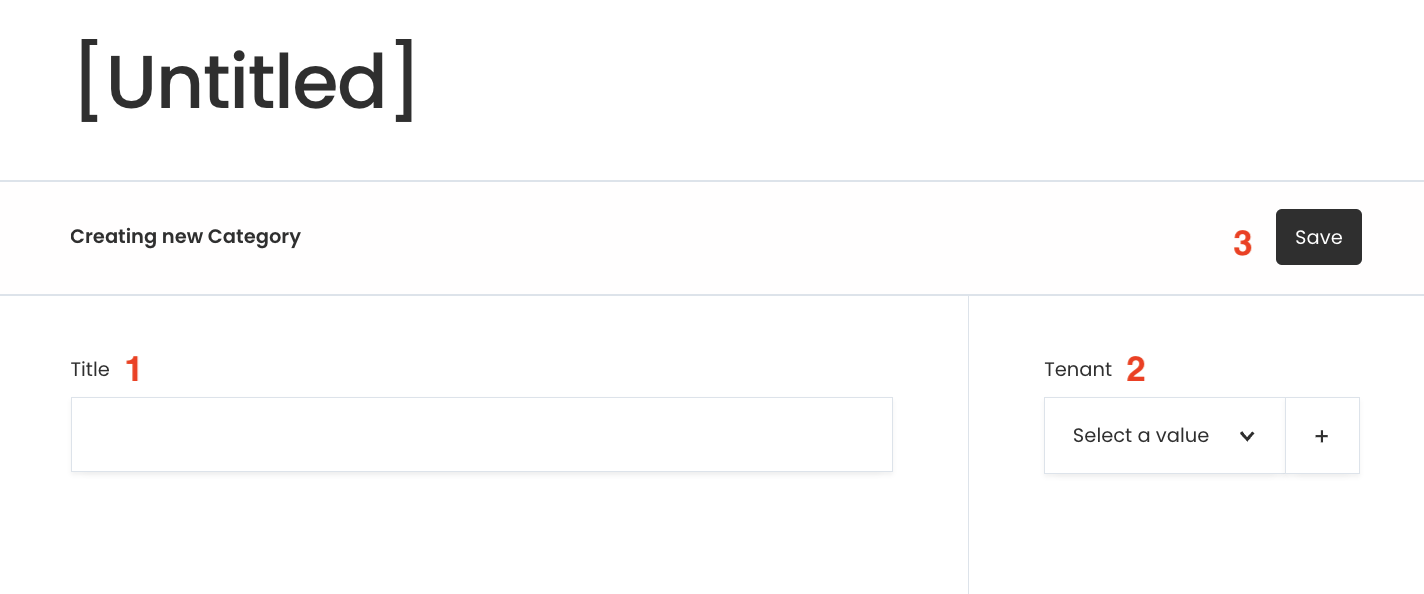
To create a new category, go to Categories in the main menu on your left and click on the Create New button. Categories can be assigned to posts, making it easier to filter and organize them, which can be especially useful when creating an archive block. Simply provide the category with a title (1) and, if necessary, assign it to the relevant tenant (2). The tenant selection is available on the right side of the screen. Save the category by clicking the Save (3) button at the top right.
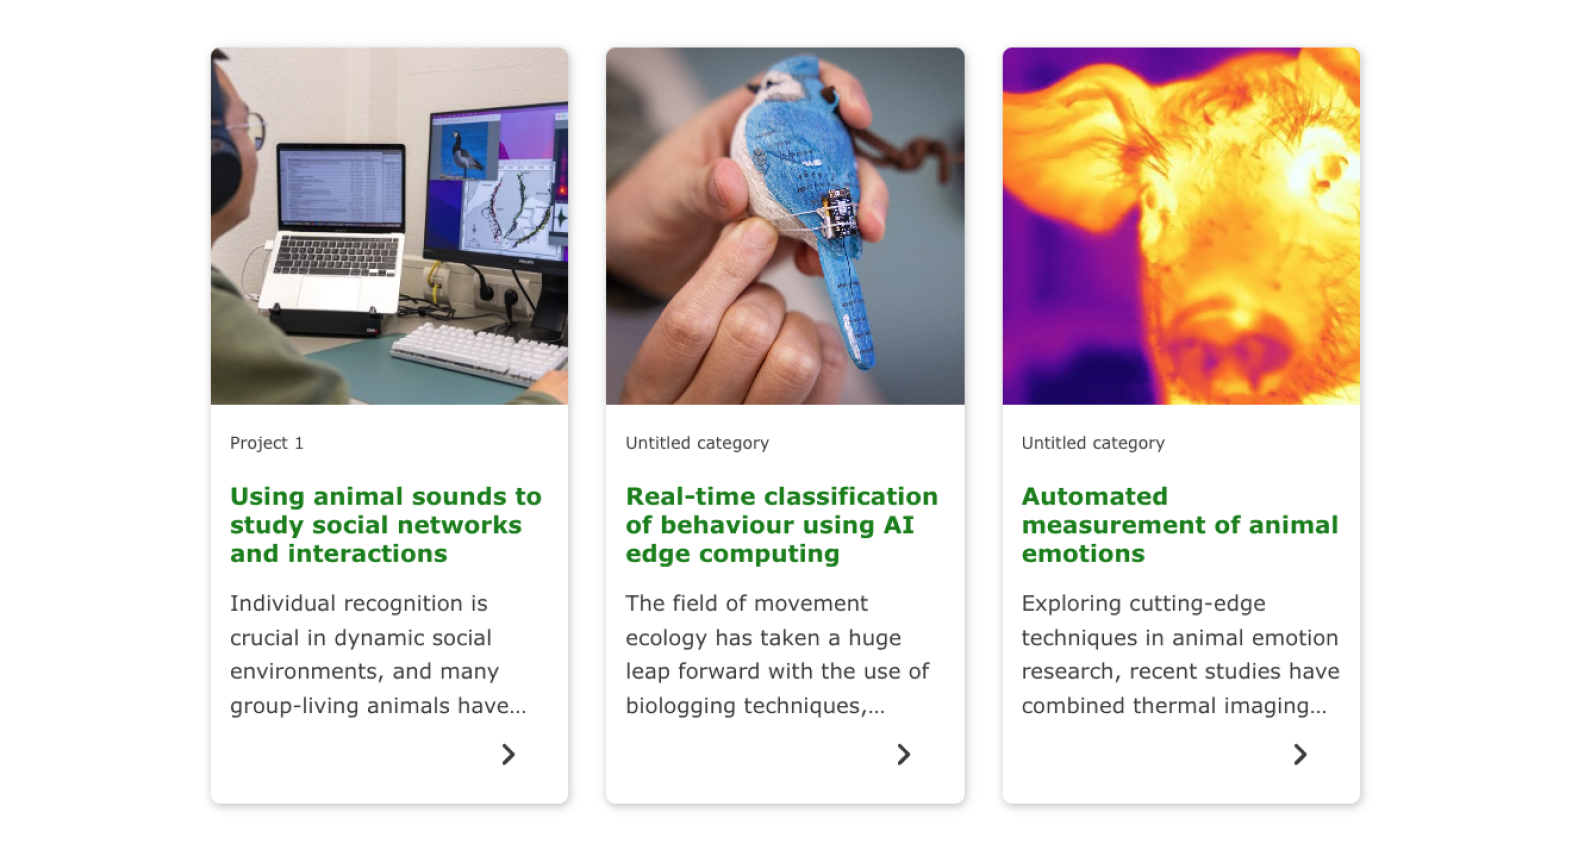
Once created, the category will be listed so that you can easily see which group each post belongs to. At the bottom of the screen, you can find an example of archive cards with categories.
Posts: SEO
The SEO settings allow you to optimize your posts for search engines like Google. By applying good SEO practices, you increase the chances of your content being found by your target audience. The following fields are important to complete:
Keywords
Add relevant keywords that you want to rank for. Think from the user's perspective: what terms would someone search for to find your content?
Title (Meta Title)
This is the title shown in search engine results. Make sure it is between 50 and 60 characters long. A strong title includes your main keyword and clearly reflects the content of the post.
For help writing effective meta titles, refer to SEO best practices.
Description (Meta Description)
The meta description provides a short summary of your post content and appears below the title in search results. Keep it between 100 and 150 characters.
A clear and engaging description can improve your click-through rate.
Again, refer to best practices for tips on writing effective descriptions.
Meta Image
Add a representative image that can appear in social media previews or search results. You can choose from existing media or upload a new image.
Using SEO as fallback for archive cards
When displaying an archive card for a post without a filled-in Hero, the system will automatically use the SEO fields (title, description, and image) to populate the card. That’s why it’s important to always complete the SEO fields—even if you're not actively optimizing for search—so your archive cards remain complete and visually appealing.